Ontario Nature Blog
Receive email alerts about breaking conservation
and environmental news.
© Lora Denis
Hummingbird clearwing moth and bergamot © Noah Cole
Growing native wildflowers from seed is fun and rewarding. It beautifies your backyard in an ecologically-friendly way and can be done for little start-up cost and maintenance! Here are five simple steps you can take to turn your native wildflower seeds into a backyard oasis for yourself and the wildlife that visits.
Choose appropriate seeds for your space. As with any plant, hours of sunlight, moisture levels, competition with other plants and nutrient requirements need to be considered. And always make sure that the plants you choose are native and not invasive!
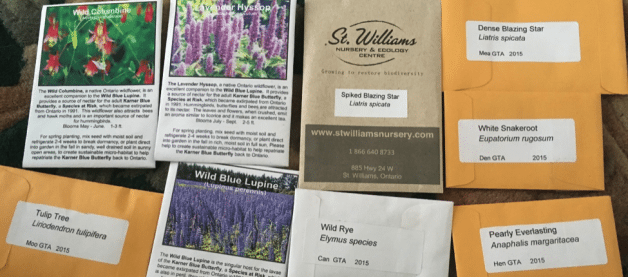
The best seeds are sourced as locally as possible. Beware of seed mixes that may contain non-native or invasive plants. The North American Native Plant Society (NANPS) has an extensive list of native plant nurseries that you can consult. Or, try this useful seed selector tool developed by Wildflower Farm in Orillia to choose the best native seeds for your landscape conditions.
Mimic nature at home. Once you have your seeds, you should study the specific method for breaking them out of dormancy. Consider that Ontario plants in nature experience cold winter temperatures and moist spring rains before sprouting. Sowing your seeds in the fall will allow natural conditions to break dormancy. But if you wait until spring, you’re in luck! You can artificially create the conditions of nature.
Cold-moist stratification is a common method for breaking dormancy for seeds from plants such as New England aster, wild bergamot, black-eyed susan and wild columbine. Sow your seeds in a moist, sterile substrate and place this mix in a sealed tray or baggie in the fridge for two to three weeks.

Next, sow them indoors in trays of seed-starting mix, place them in a warm, dark location and keep them moist. A loose-fitting cover on your tray will help trap moisture.
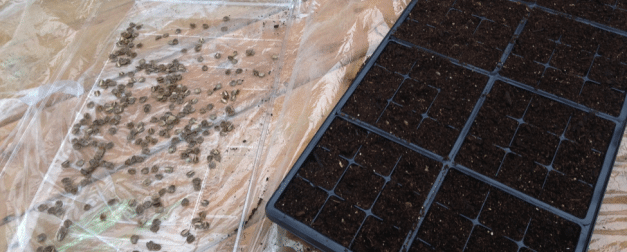
When the seeds germinate, move them to a warm, sunny location. It’s a good idea to over-seed since not all seeds are viable, and then thin out by leaving only the healthiest looking seedlings once they have grown a bit.
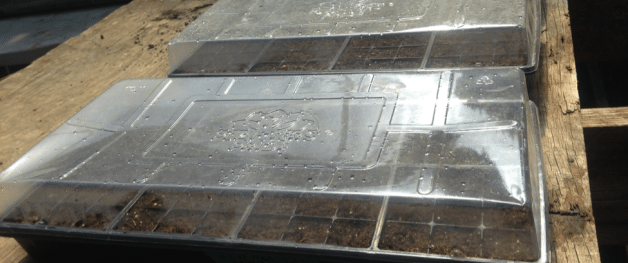
Harden-off. When your seedlings have established a dense root system and all danger of frost has passed, place your seed tray outside in a sheltered area for a few hours and gradually increase its time outside over the course of a week. This will harden off your plants.
Plant your seedlings in an appropriate location for their needs. Refer to seed packages and your long-term landscape design plans to guide your location choice.
Monitor and maintain. You will need to monitor your plants to make sure they are adapting well. Water them when needed, and thin them if overcrowding causes powdery mildew or other issues.
You might lose a few plants; but that’s the beauty of working with many seeds! And an established native plant garden doesn’t need new seeds. Annuals can self-seed and perennials will survive year after year. You can also harvest seeds from your mature plants to share at a local seed exchange!
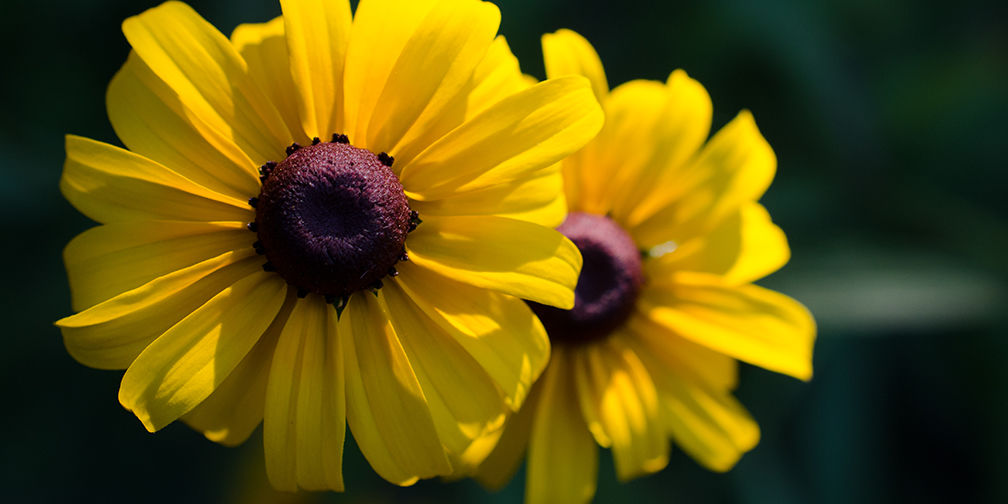
The ecological benefits of gardening with native plants are diverse, from supporting native pollinators to stabilizing shorelines. So gear up, prepare your seeds, and get growing!
Gananoque Lake Nature Reserve © Smera Sukumar
I thought that we just scatter them on the soil. Starting them in seed trays and then having to plant each one is not a good idea. How is that possible when you have hundreds to sow? Besides it takes the fun and surprise out of it!
How would one manage to get 3 pounds of mixed native seeds?
Hello
Wondering if you have any signs or markers that would denote where a wild flower bed is growing.
The challenge in starting out with native grasses, seeds & small plants is it can look unkept and messy.
If there was something to mark it, that would be wonderful.
Let me know
Thank you
Karl
Hi there.
Is it too late in the season for me to plant pollinator plants in Muskoka? Also, do I need florescent lights if I start them from seed?
Many thanks,
Fran